

Servicing CPR GT Clutches - Disassembly and Assembly Tutorial
The CPR GT clutch is the same basic design as the Torini CLUBMAXX Noram clutch and is assembled and serviced almost exactly the same way (the only difference being that the bottom thrust washer is replaced with two thrust washers and a roller bearing on the GE Ultimate). WANT TO READ THE GE ULTIMATE DISASSEMBLY GUIDE INSTEAD? CLICK HERE
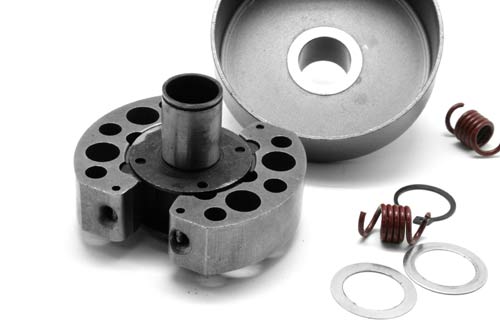
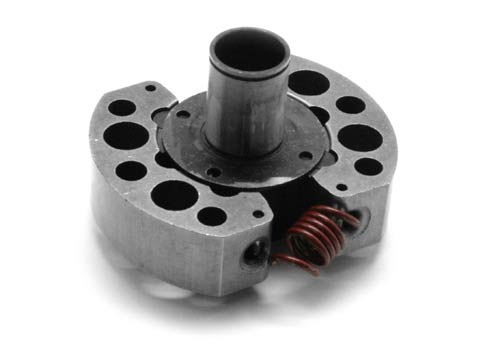
This month we're showing you how to break down and re-assemble your CPR GT Twin Shoe clutch, and we'll also give you the tips and tricks to service it and keep it in the best operating order.
CONTENTS
1. Required tools and consumables
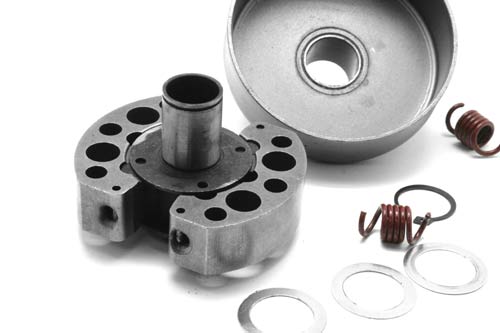
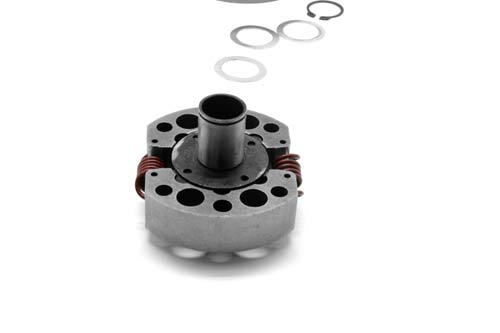
2. Remove the circlip
3. Remove the first thrust washer
4. Remove the Drum
5. Remove the Springs
6. Remove the Third thrust washer if stuck to the underside of the drum
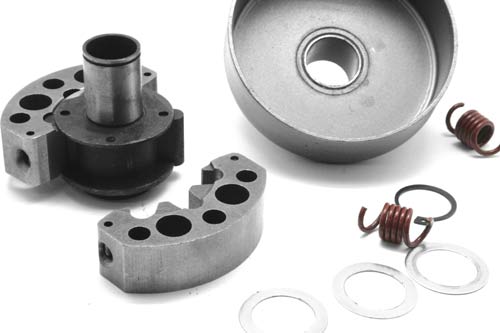
7. Remove the Shoes
8. Clean & check the clutch components
9. Lubricate the clutch components
10. Re-assemble the clutch
This guide explains how to disassemble and re-assemble your CPR GT Clutch, as well as how to service it.
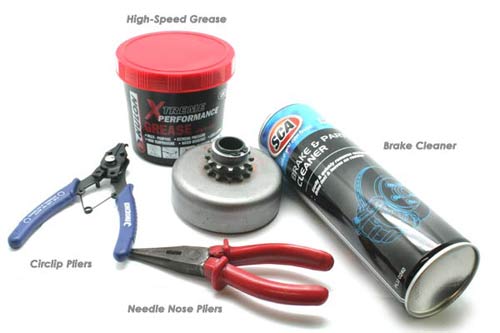
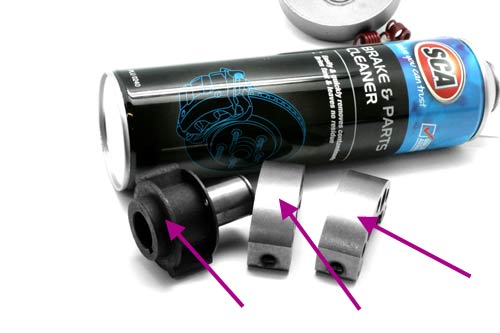
1. Required Tools and consumables
Ideally, you will require the following tools and consumables:
- Circlip pliers to remove the circlip (picks and screwdrivers can be substituted if circlip pliers are not available but be careful if using picks and screwdrivers as the circlip is under a lot of pressure)
- Needle nose pliers to remove and fit the springs
- Brake cleaner (to clean the shoe surface and other components of the clutch
- High speed grease to re-grease moving parts upon assembly
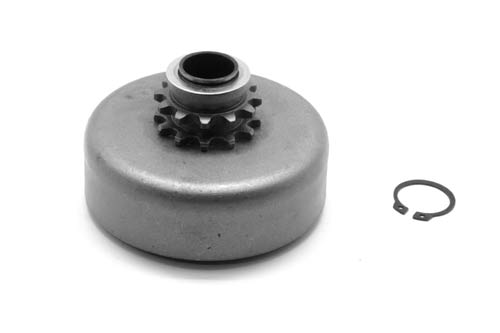
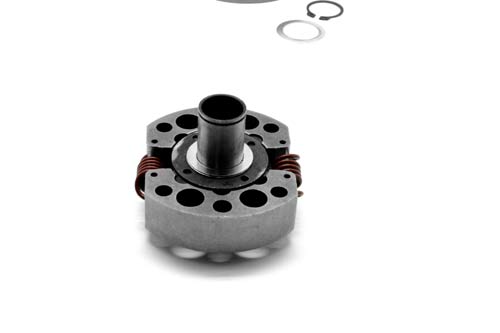
2. Remove the circlip
Using the circlip pliers, gently remove the circlip holding the drum to the core. Place it aside.
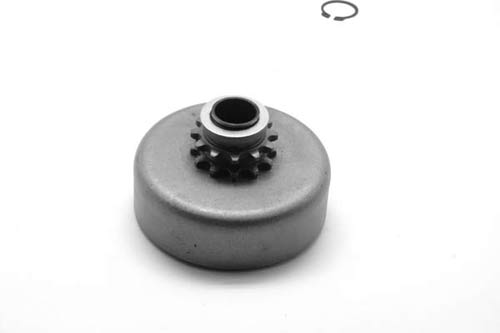
3. Remove the first thrust washer
Remove the first thrust washer and place aside.
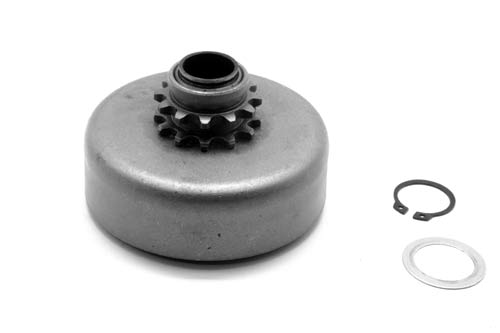
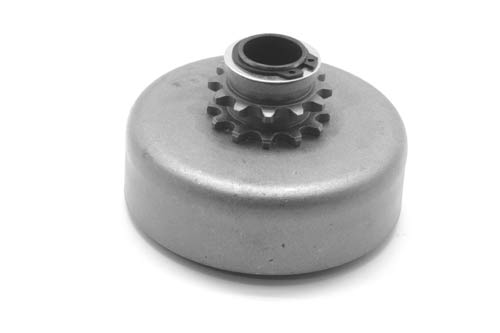
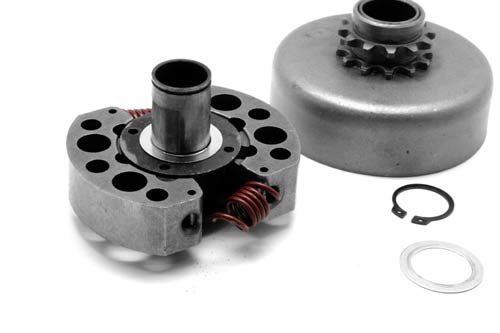
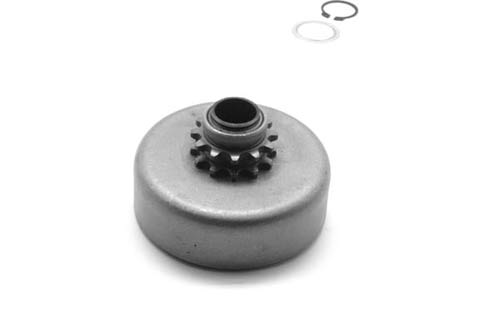
4. Remove the drum
Slide the drum upwards and off the core. Place it aside - watch for any thrust washers stuck to the underside of the drum.

5. Remove the Springs
Using the needlenose pliers, gently lever each spring out from one of the shoes firt, then twist and remove from the other shoe. Do this for both sides and place the springs aside.
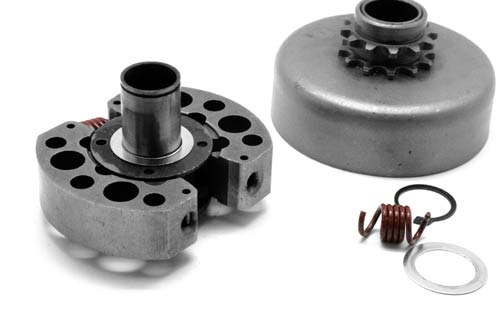

6. Remove the Third thrust washer if stuck to the underside of the drum
If you've only removed two of the thrust washers so far, there is a third one. It's probably hiding under the drum - flip the drum over and carefully remove the third thrust washer from it and set aside.
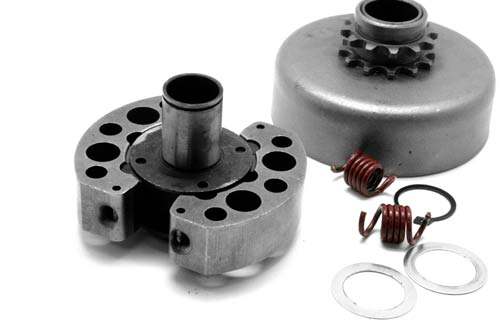
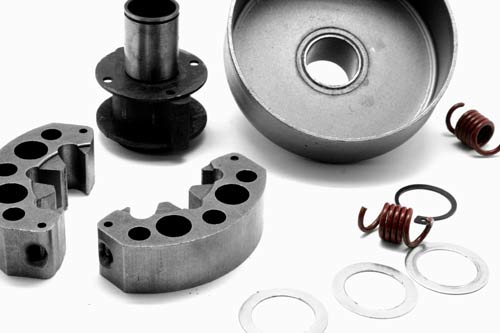
7. Remove the Shoes
Remove the shoes from the core. They will not be attached - they may be a little sticky but should fall off easily. Set the shoes aside.
8. Clean and check the clutch components
Using the brake cleaner, clean the section of the core and shoes. You can also clean the inside of the drum where the shoes contact if it is sticky or has been noisy in operation.
Check the contact surfaces and ensure they aren't burred or damaged. All shafts should be perfectly smooth and free from chips and marks.
If you notice any damage on your CPR GT clutch, you can buy all components directly from the store in the GT Clutch section.
9. Lubricate the clutch components
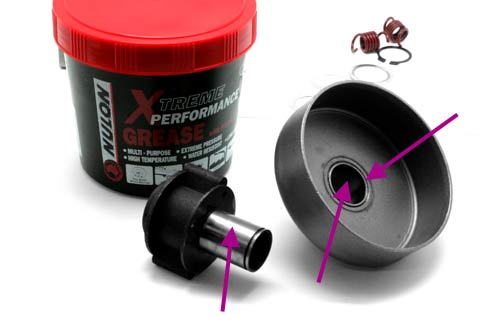
Using the high speed grease, VERY LIGHTLY grease the protruding knobbly bits on the core where the shoes are held in place - do not over-grease these as the shoes must be able to move easily and you do not want grease flicking out onto the shoes and drum contact surface.
Lightly grease the core shaft.
Lightly grease the bush in the drum and the section of the base of the drum where it will sit on the thrust washers. DO NOT OVER-GREASE!
10. Re-assemble the Unit
Re-assembly is basically the reverse of the disassembly process, but due to the springs being a little tricky, we've listed the steps to ensure a smooth and easy re-installation.
a. First attach a spring to one of the shoes by inserting and twisting it with the needlenose pliers.
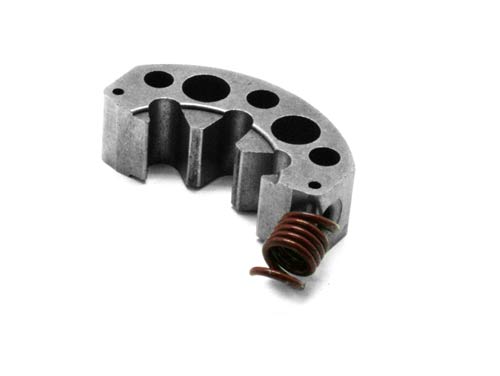
b. Fit the shoe with the spring attached, to the core as shown below. You can choose the location for the shoe as you wish. Please refer to the engagement speed and rate chart for ideal positioning of the shoes on the core (click here: http://cutpriceracing.com.au//phpbb3/viewtopic.php?f=14&t=258)
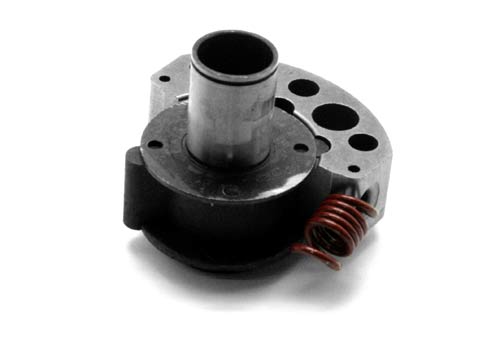
Fit the second shoe and using the needlenose pliers, stretch the spring into the opposite shoe's hole. Do not remove the shoe from the core while doing this otherwise you will find it too difficult to get the shoe back onto the core. Twist the spring until it snaps into the second shoe. If the shoes do not stay in place, try using a rubber band areound both shoes to hold the shoes in place.
c. Do the same with the other spring.
d. Fit two of the thrust washers.
*** SLIGHTLY GREASE the thrust washers before fitting.

e. Slide the drum over the core. It should slide over easily.
f. Slide the third thrust washer over the core and onto the drum.
*** SLIGHTLY GREASE the thrust washer before fitting.
f. Using the circlip pliers, fit the circlip over the core. Ensure it snaps into place and that the drum cannot slide back off.
Congratulations! You have just completed a service of your CPR GT Clutch. Now install your clutch and enjoy!