Home
::
GUIDE - Installing Rear Crash Bars


GUIDE - Installing Rear Crash Bars
GUIDE - Installing Rear Crash Bars
Have you ever wondered how a rear crash bar is held in place on a traditional 2-stroke chassis? What holds those studs into the tube rails?
Well, there are actually little rubber inserts inside the frame that are compressed by a bolt and nut to squeeze thicker and friction holds them inside the frame, allowing you to use the other end of the bolt just like a stud. When painting or reconditioning a chassis, you may need to remove the old ones and install new ones.
You can find our range of inserts in our store by clicking here
Here's a quick step-by-step guide to assemble the bolts and inserts in the kit:
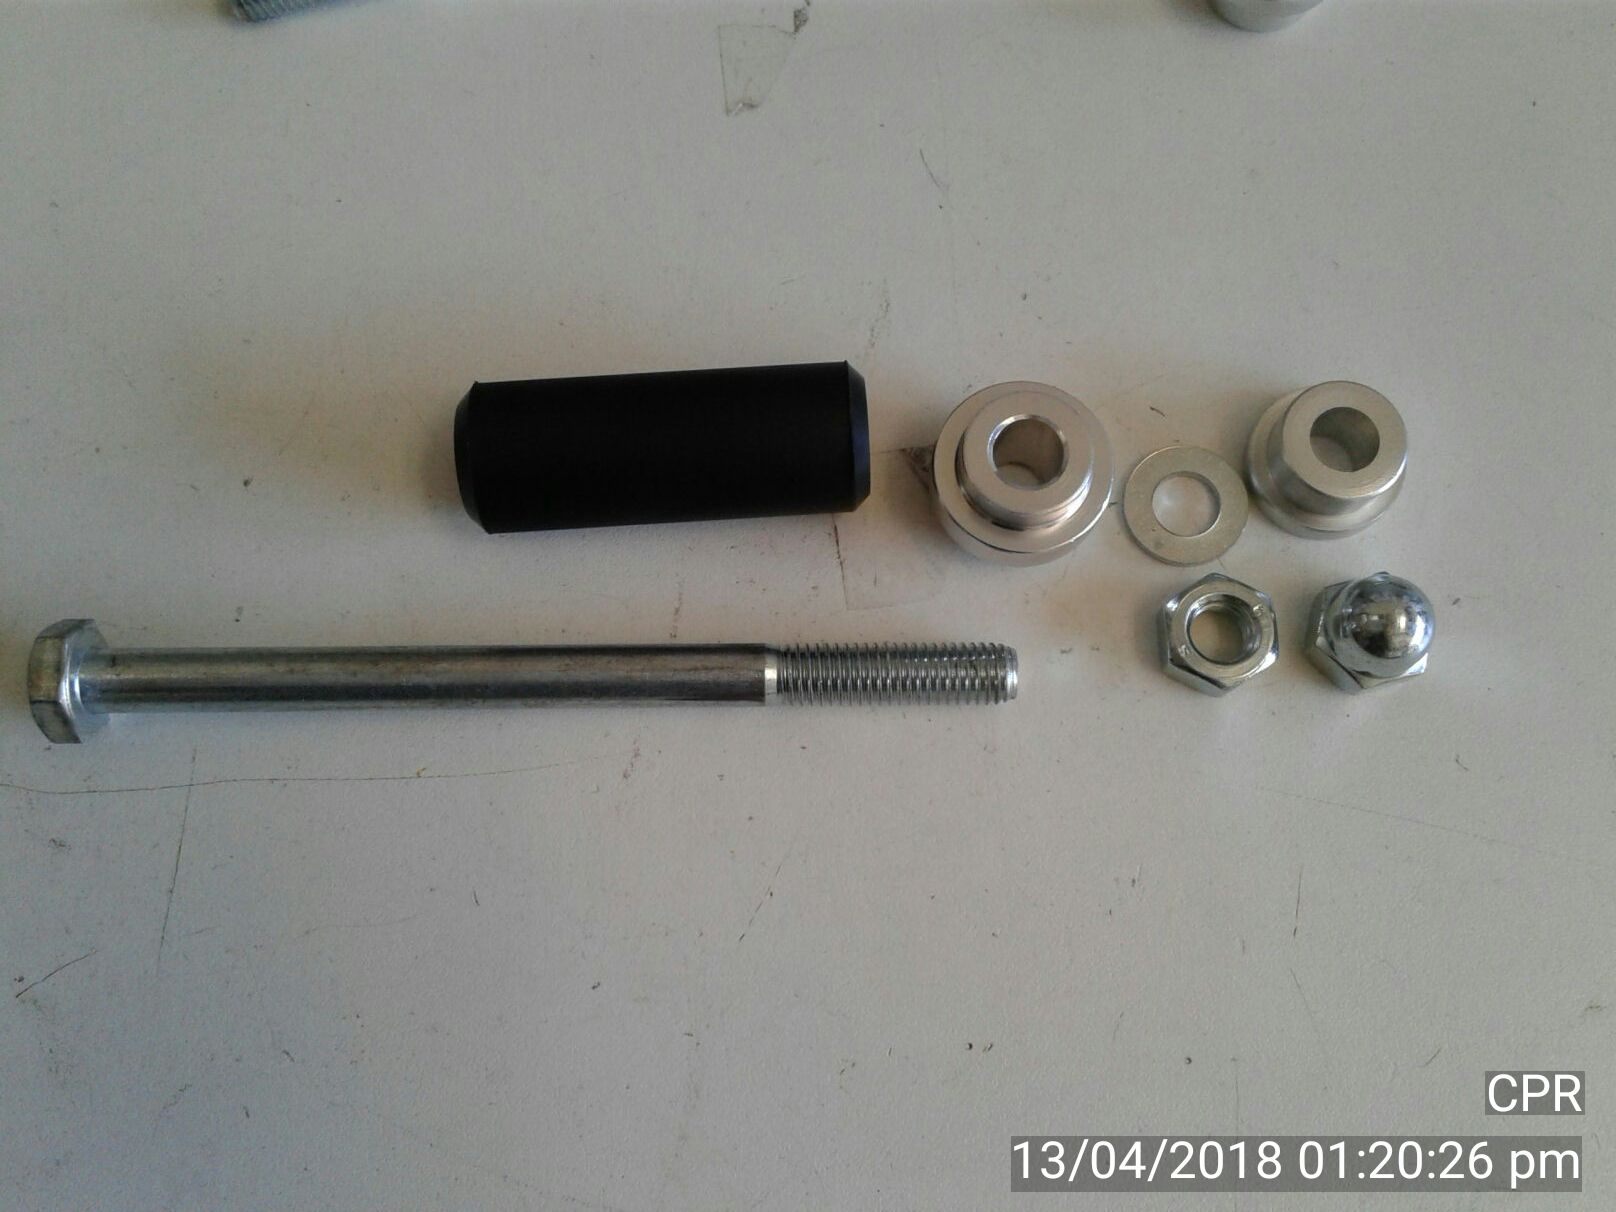
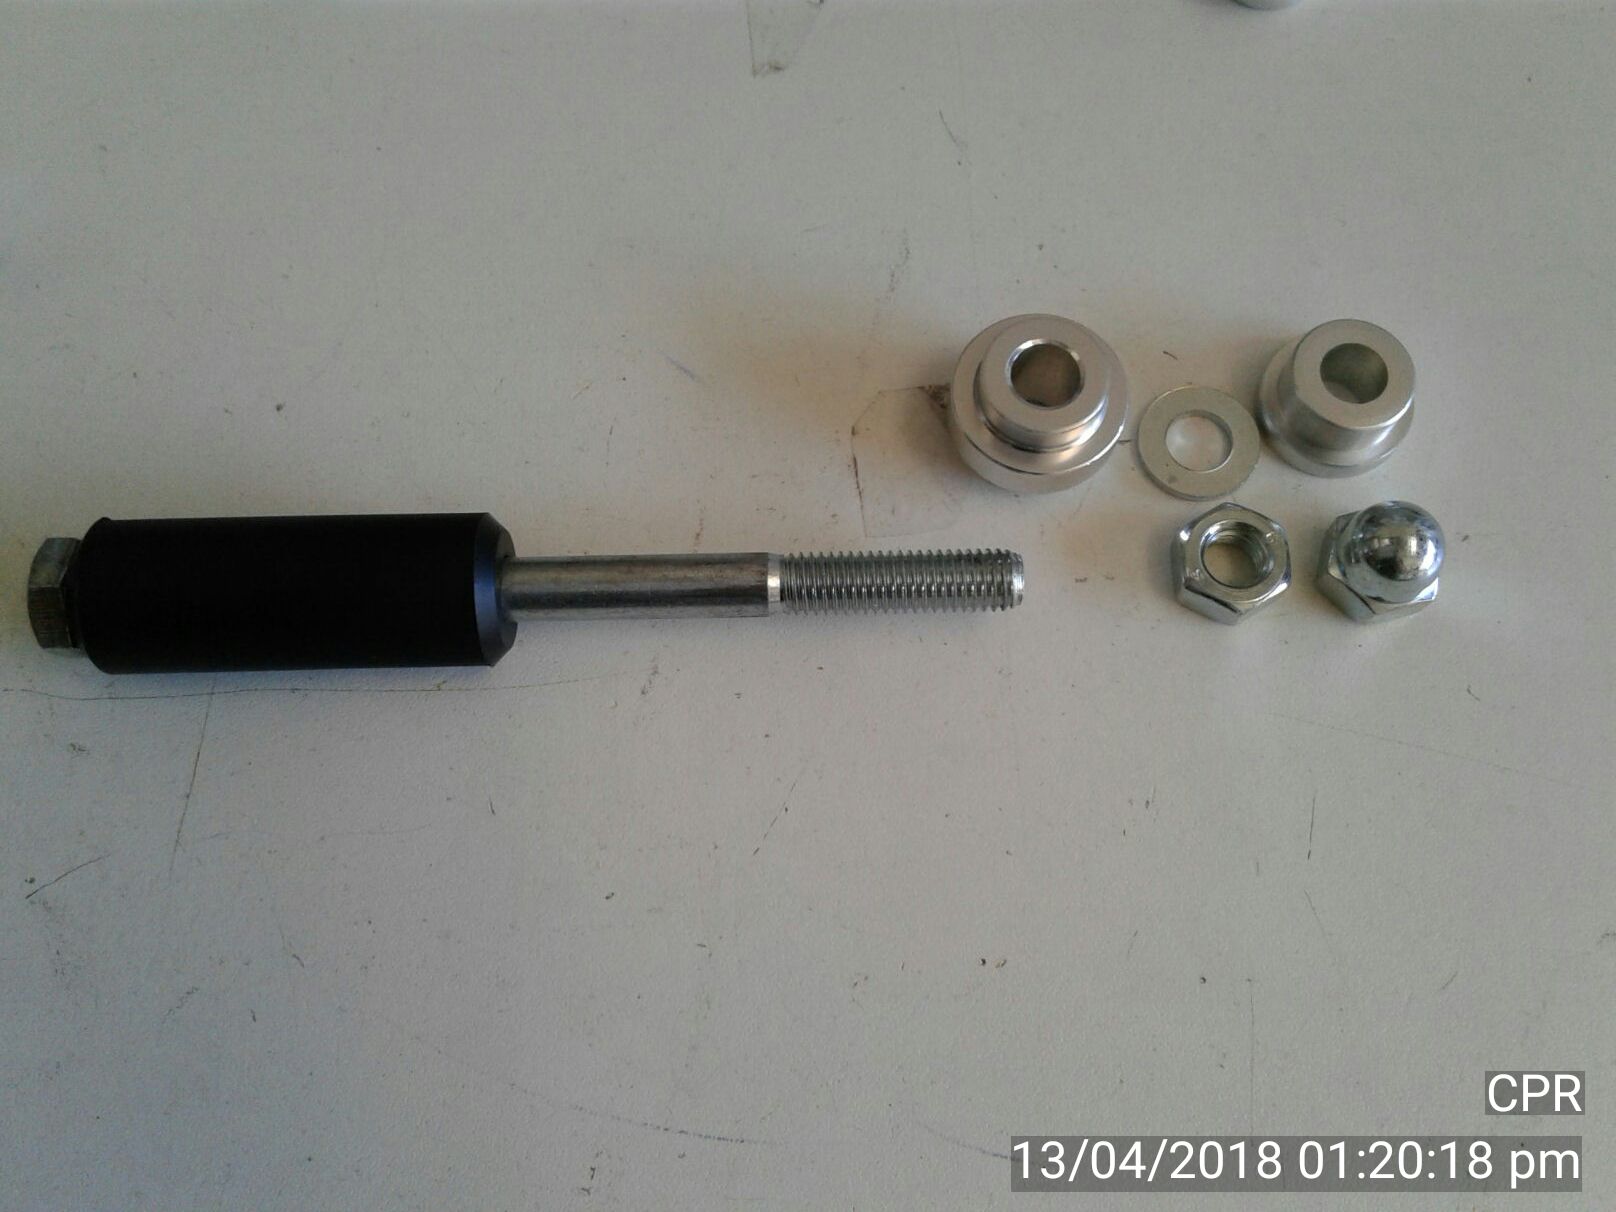
First slide the insert over the bolt. The bolt head will be the first thing inserted into the tube or chassis rail when installing the complete insert.
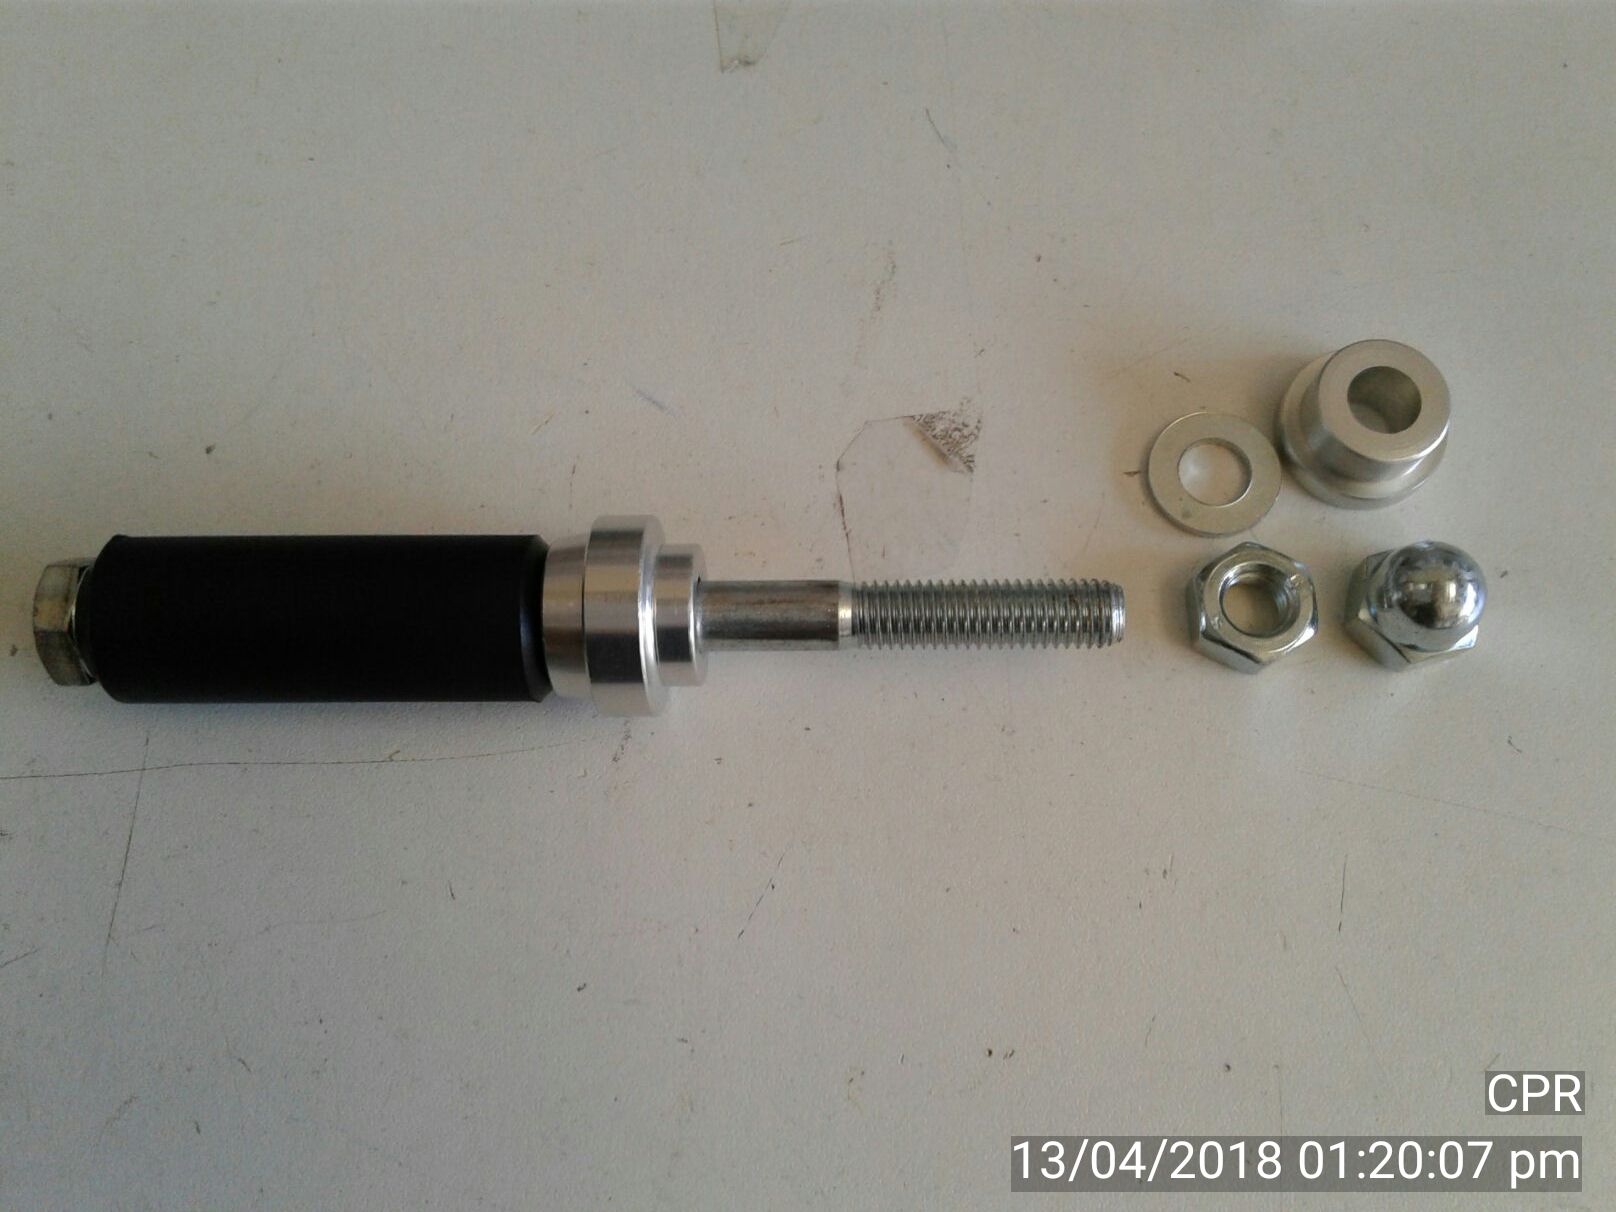
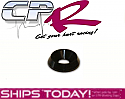
Slide the double sided aluminium bush over the bolt and down against the rubber insert, with the larger tapered flange first.
Fit your rear crash bar or if using a plastic bumper fit the bracket. This part is not shown, then slide the single sided aluminium bush over the bolt so that it keeps the tube from the crash bar or rear bumper mount in place.
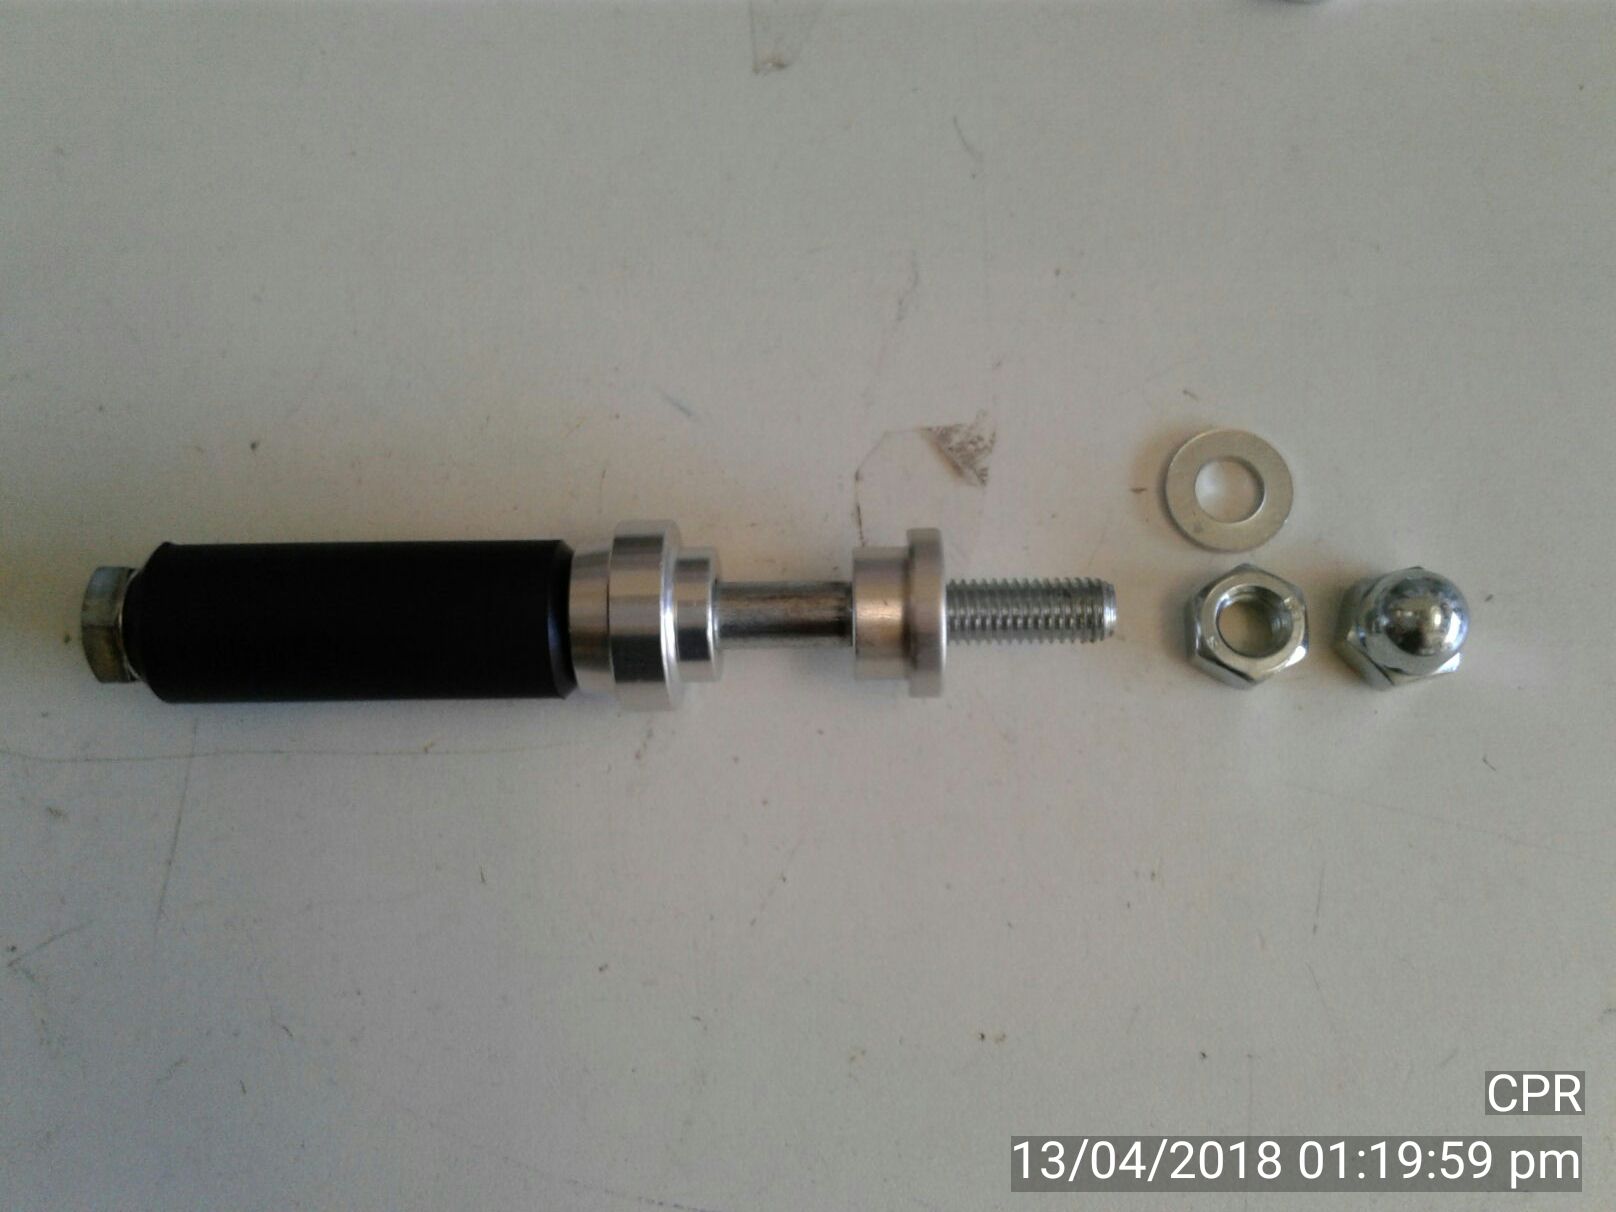
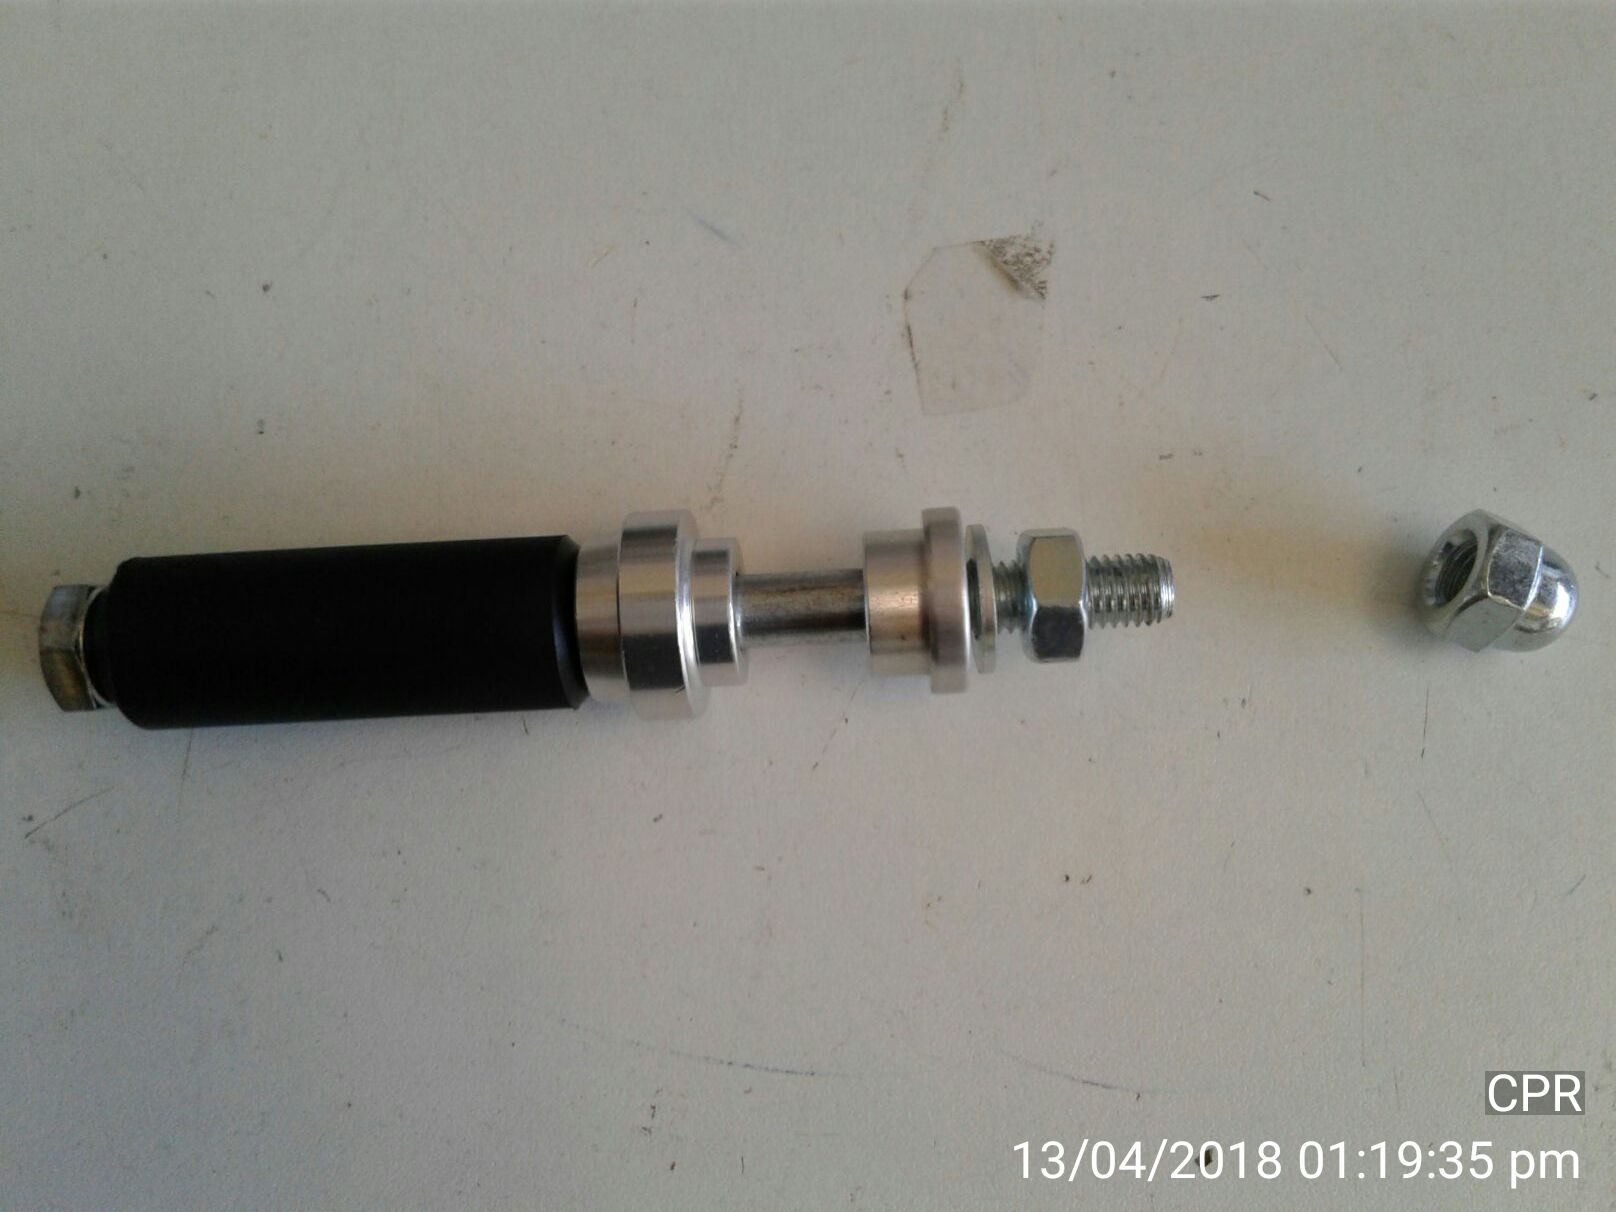
Fit the washer.
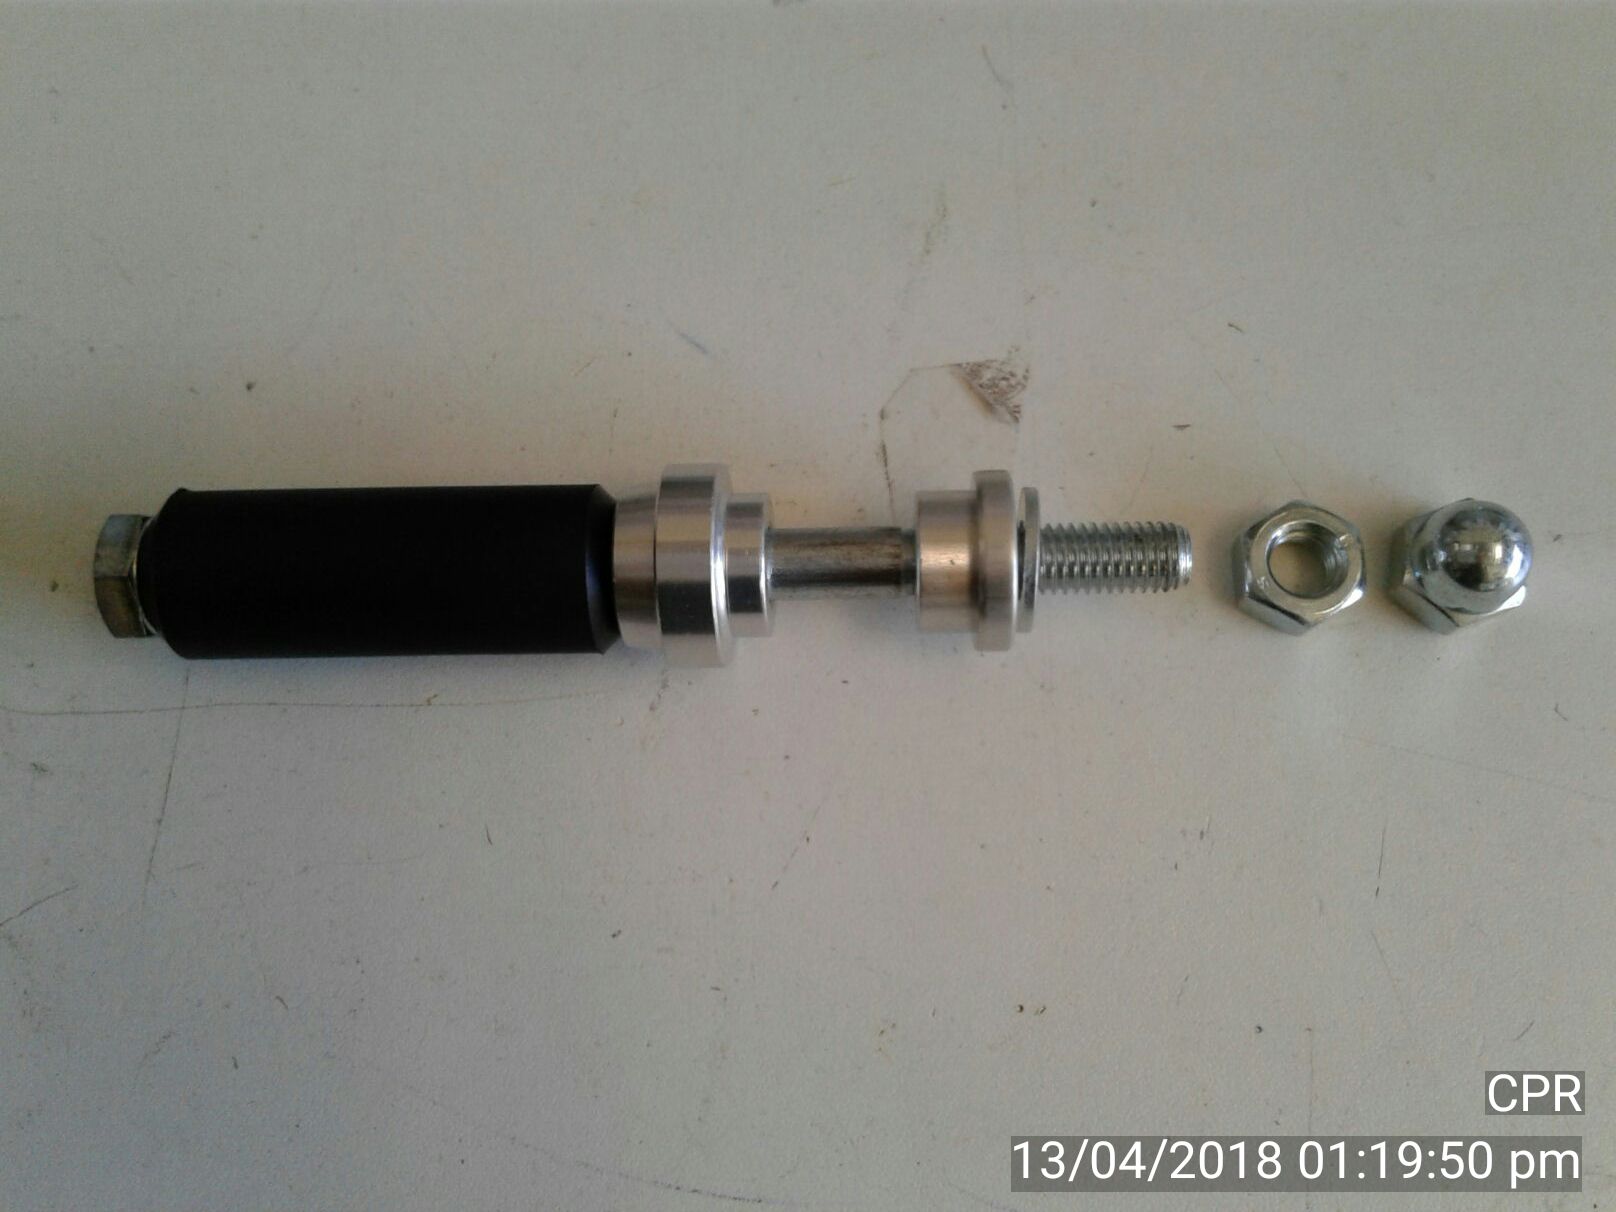
Fit the nut and tighten until the bolt crushes the insert enough that you can no longer remove the bolt from the chassis tube or rail. The double sided alluminium bush will be pushed hard up against the chassis rail - don't worry, it will not damage your chassis as it is softer than the steel of the chassis rail and will mould to shape.
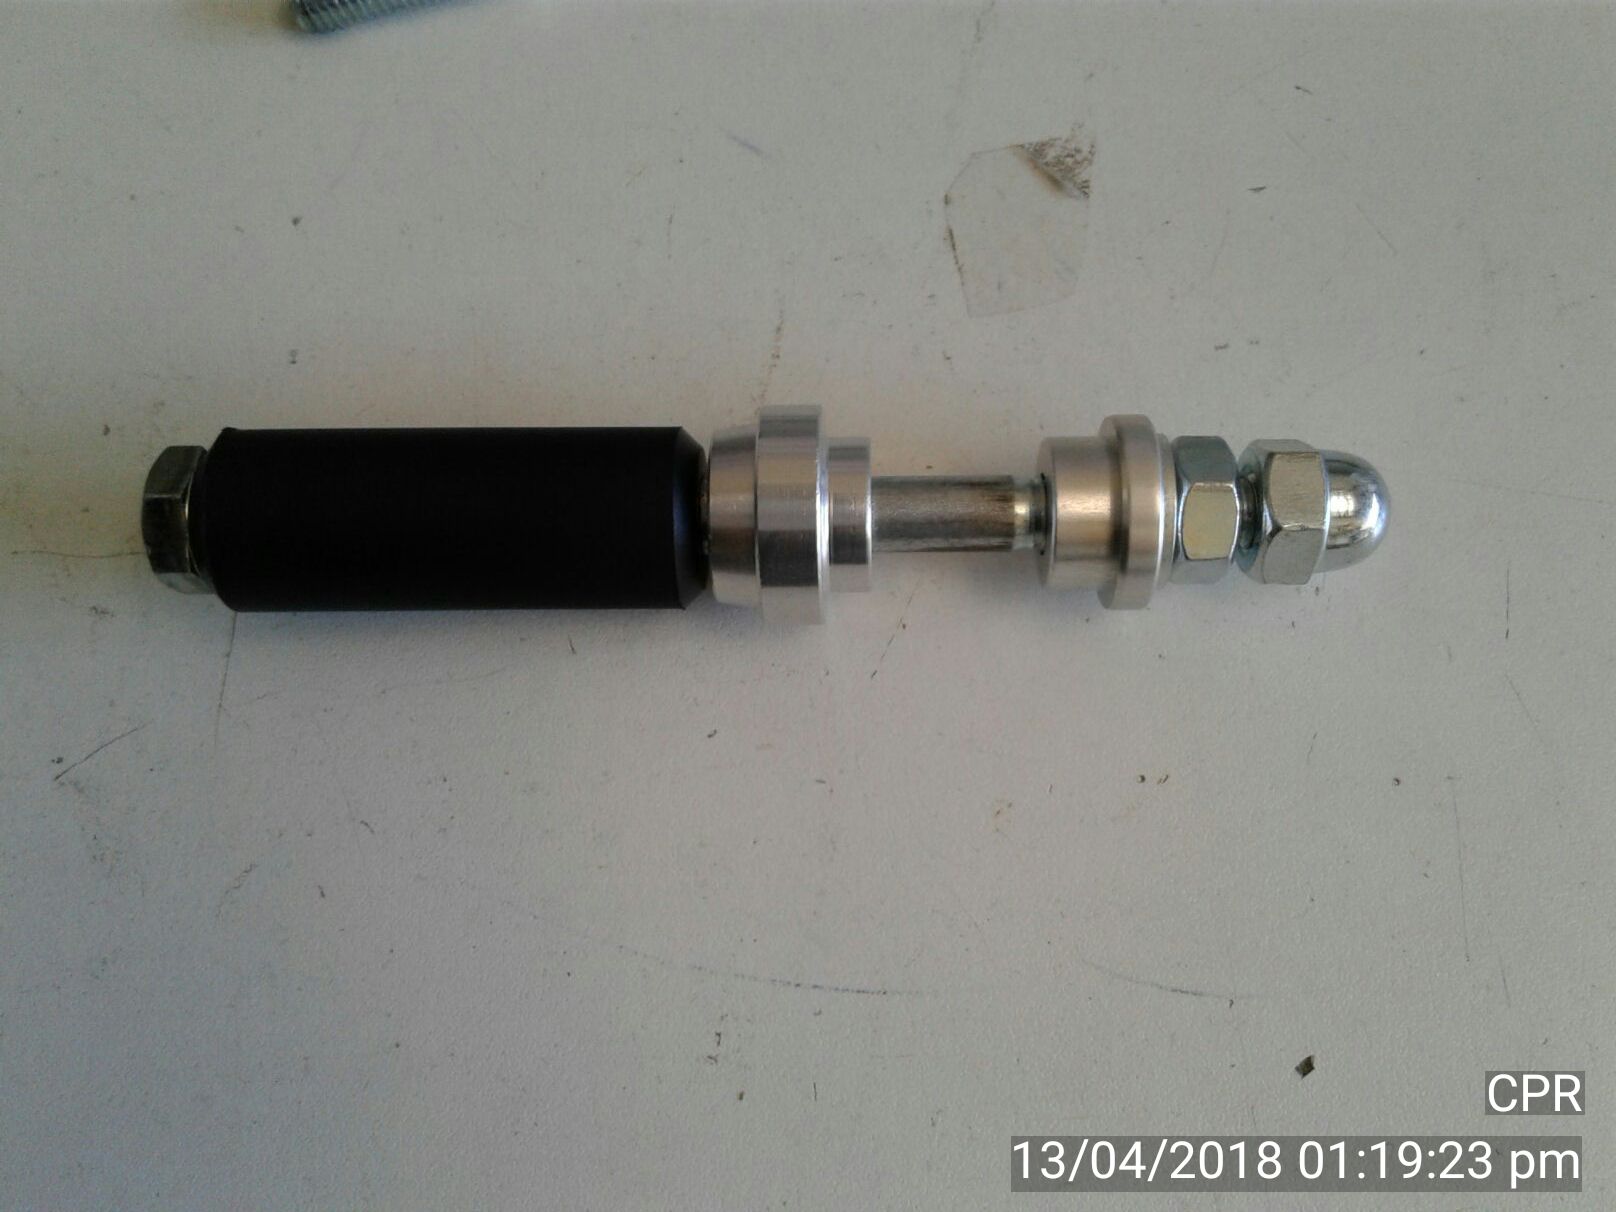
Fit the dome nut to protect the thread on the end of the bolt from damage.
Need Help?

Gift Certificates

Categories
Bestsellers


Special
My Shopping Cart
My Shopping Cart
Cart is empty
My Account
Free Same-Day Dispatch!


Product Updates via Facebook

Get notified about our holiday times

We Accept Paypal

Outstanding Service!